Introduction
The Claim System exists to protect your builds and prevent griefing. In previous BuildMC servers, griefing was a recurring issue. To ensure fair play and preserve creativity, BuildMC introduced a powerful claim system that allows players and teams to claim areas of chunks that others cannot access or modify.
Creating a Claim
Section titled “Creating a Claim”To create a claim, you first need to define the area to be claimed. We got a tool for that! Use the /claim claimtool command to obtain the Claim Tool.
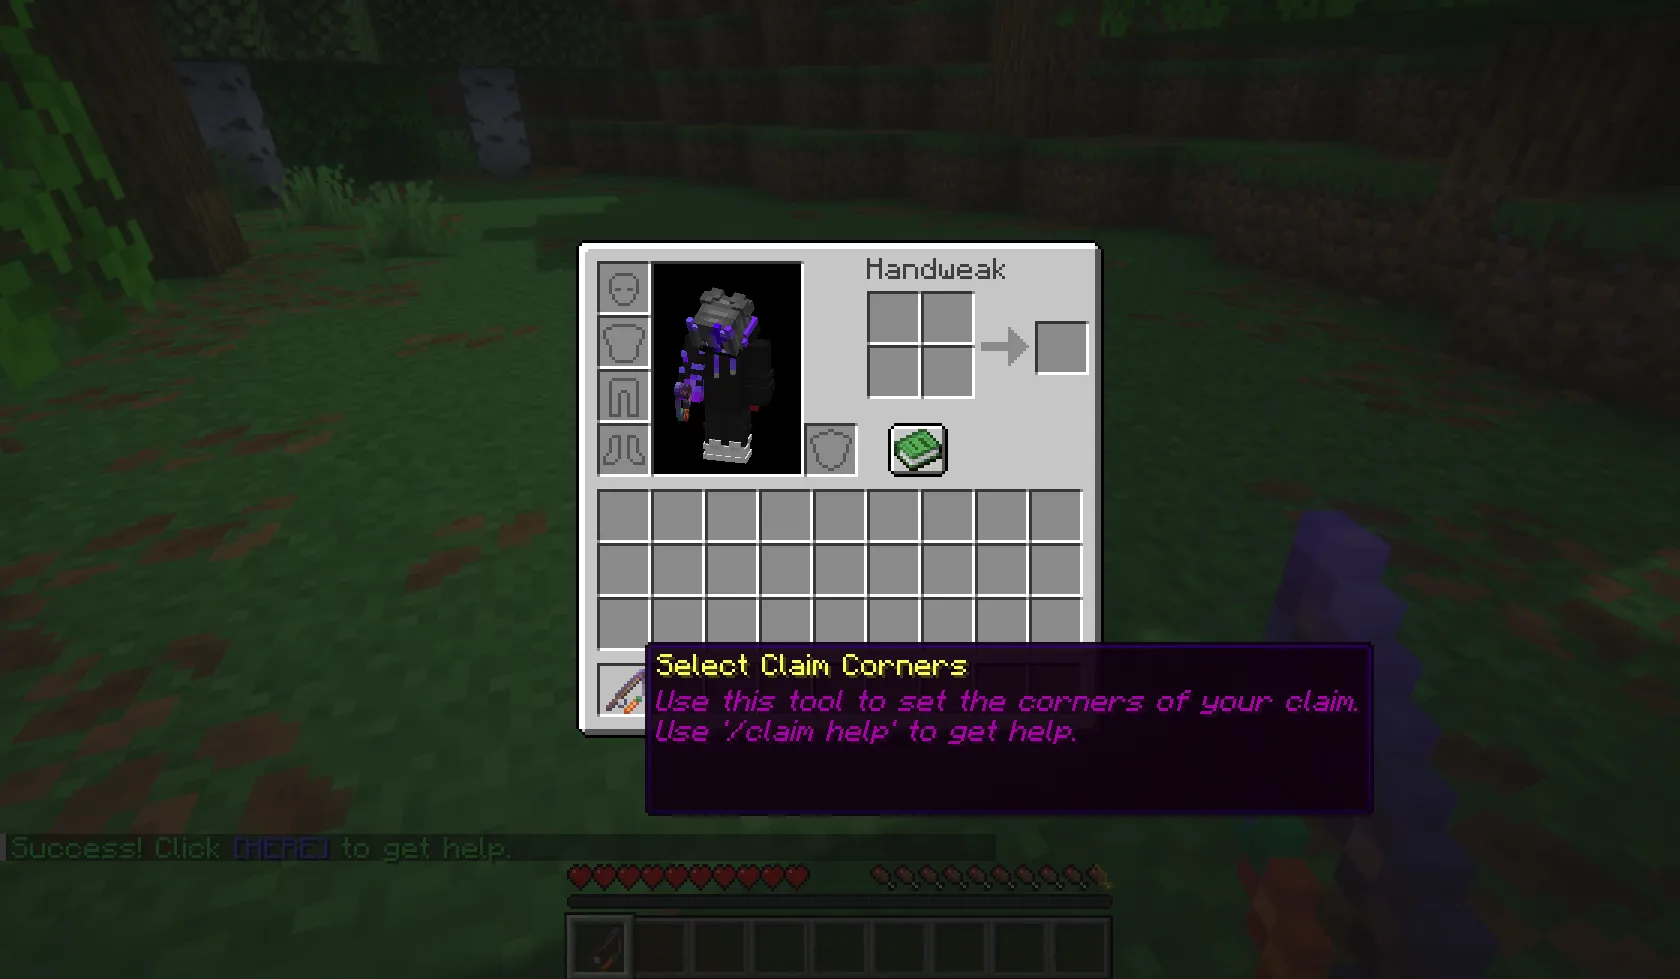
You can use the Claim Tool to select which chunks of the world you want to claim.
With the claim tool in hand:
- Left-click to mark the first corner chunk of your selection.
- Right-click to mark the second corner chunk.
By default, the selection size is limited to 10x10 chunks.
Once you have both corner chunks selected, a message will appear in chat, telling you that the area is ready to be claimed!
Now you can use the /claim create command to create your claim.
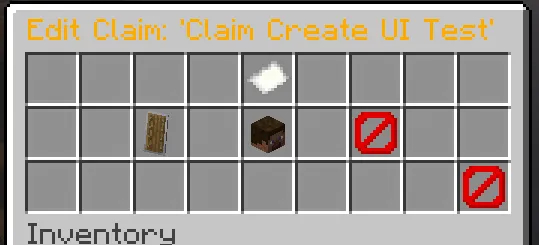
Running the command will open the Claim creation UI.
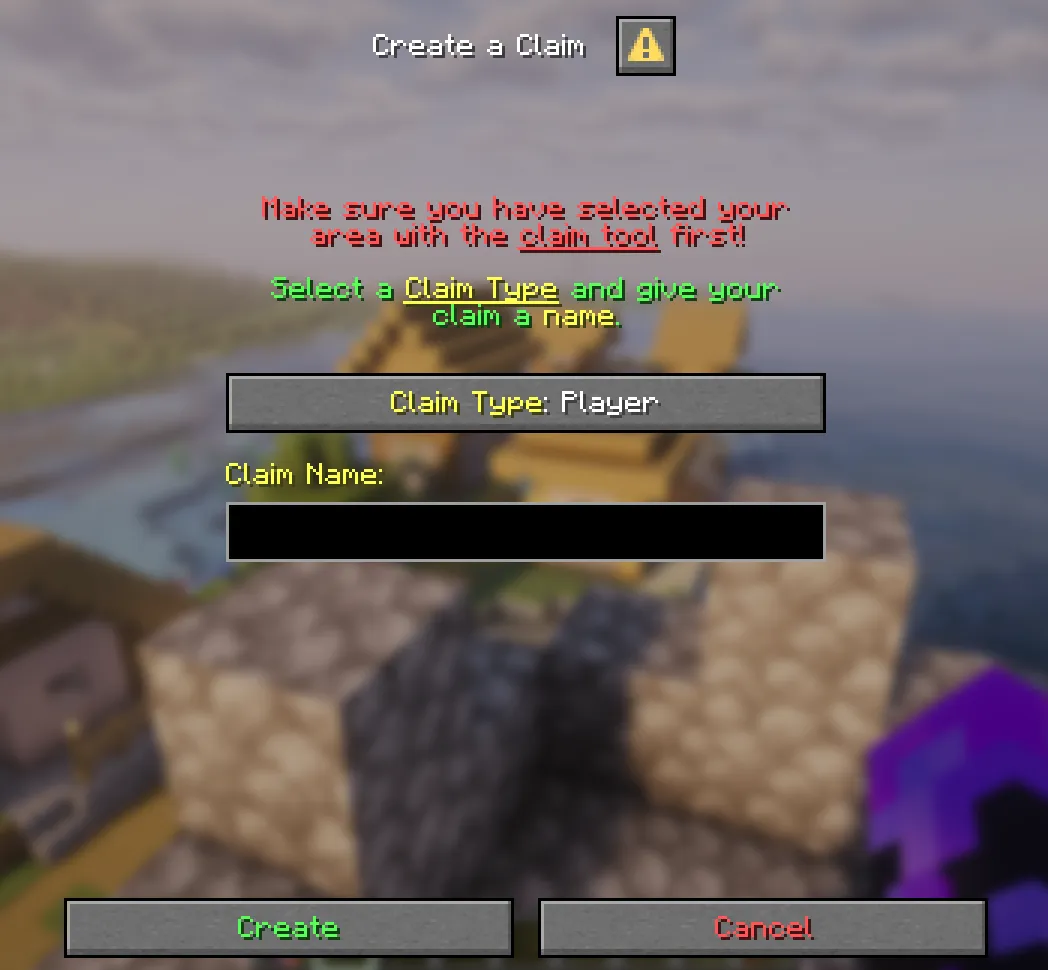
Here you can select your Claim Type (See: Claim Types) and enter a name for your claim.
The name cannot contain spaces or characters that cannot be entered into a Minecraft chat.
After creation, your claim is immediately protected by the default protections.
Alternatively you can also enter the parameters directly into the command as arguments:
/claim create <claim_type> <name>Managing your Claim
Section titled “Managing your Claim”The default settings of the claim might not be enough for you. You may want more or fewer protections. To manage your claim it is generally recommended to use the Claim Management UI. But everything can be managed via commands.
Protections
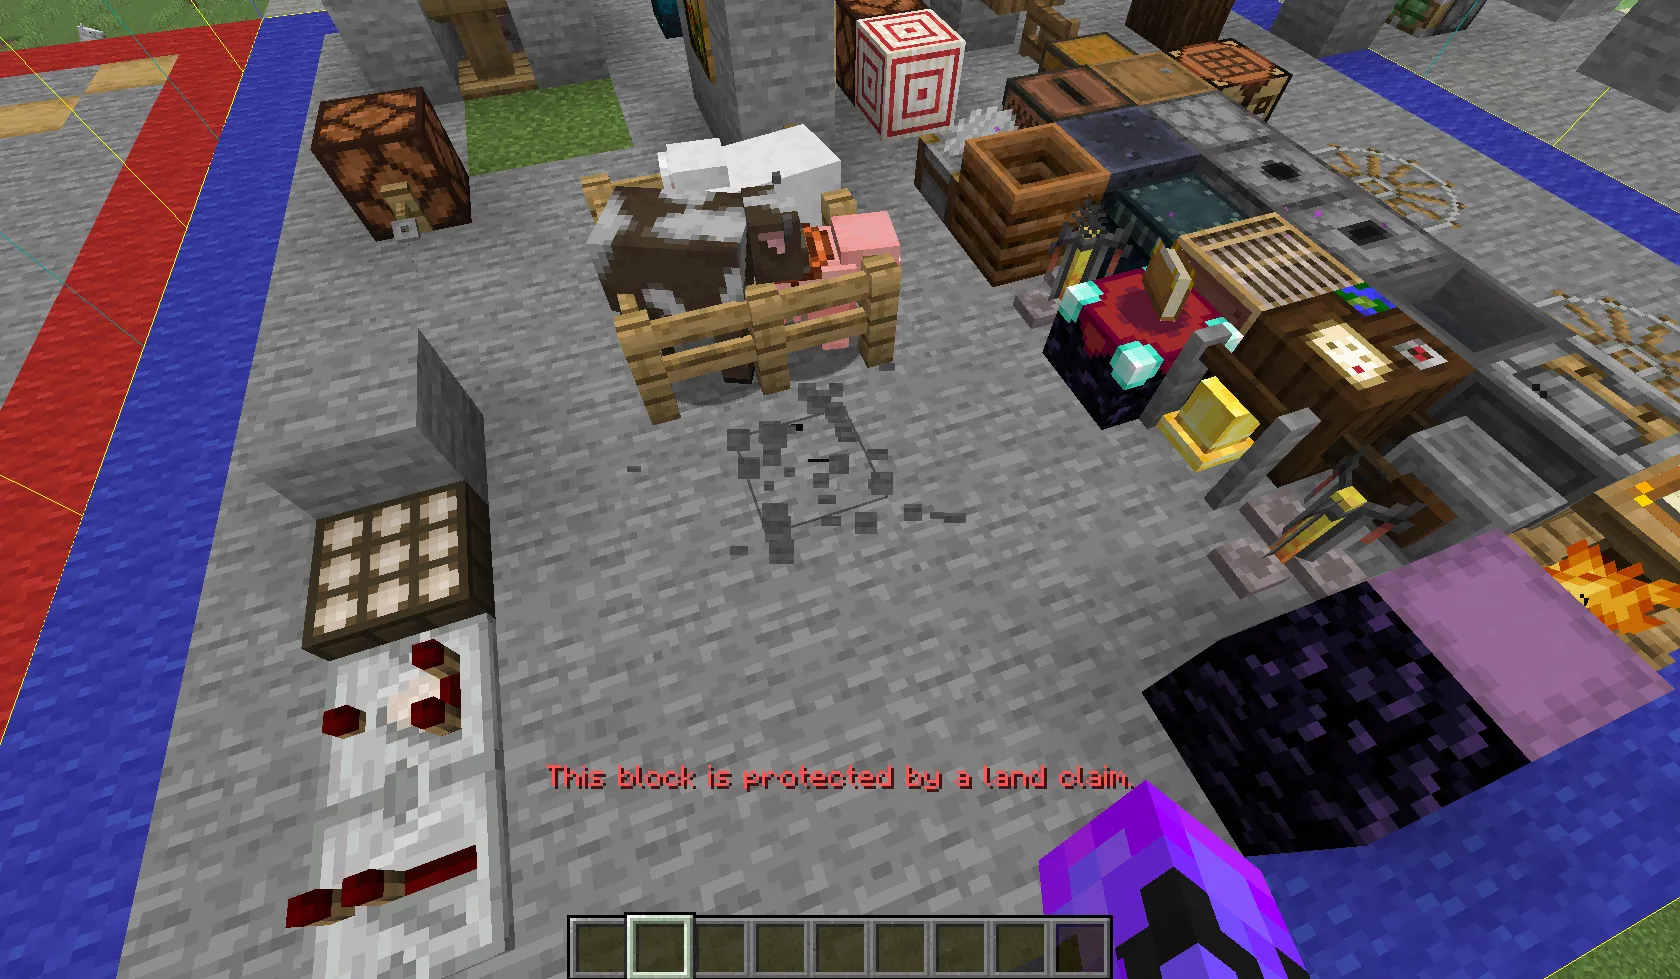
Section titled “Protections”Protections define what parts of your claim are secured. If a protection is active, that means players who do not own the claim and are not whitelisted (See: Whitelist) will be blocked from performing that specific action in your claim.
You can modify protections via command:
/claim protections <type> <name> <protection> <true/false>Claim Management UI
Section titled “Claim Management UI”The claim system includes and easy to use graphical interface for editing the settings of your claims. You can open with the /claim or the /claim edit commands.
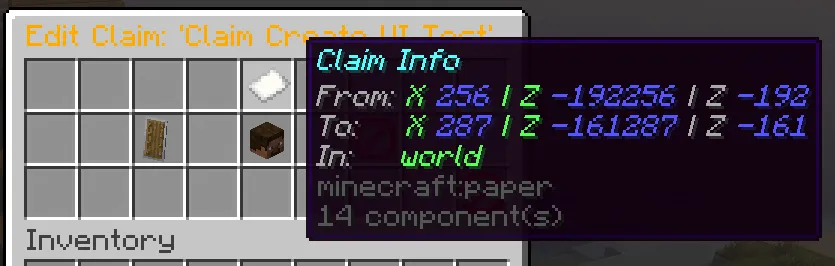
Once you open the UI, you will be presented with all the claims you have access to.
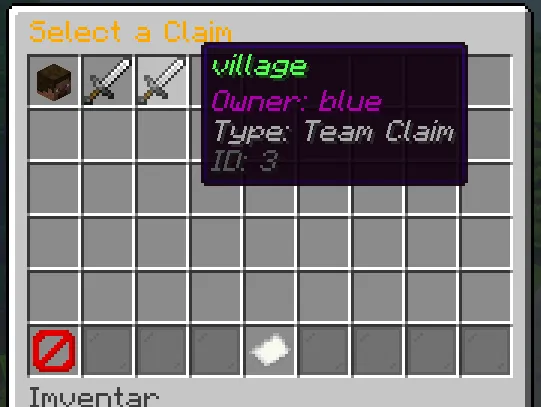
From there you can select the claim you want to modify by clicking on the item. Here you are presented with information about your claim and three settings.
Clicking the
Backbutton in the bottom right always takes you back to the previous page.
Protections
Section titled “Protections”Clicking on the shield takes you to the Protections Menu.
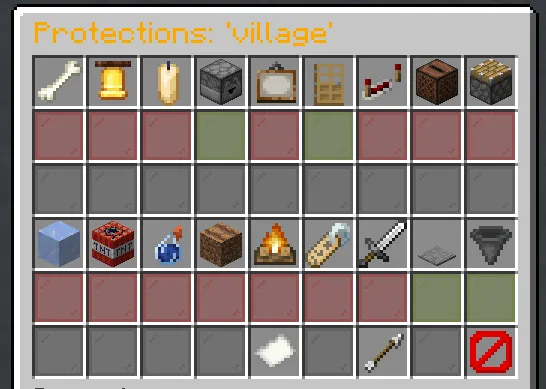
Each protection has an item representing it. Hovering over it reveals it’s name and a small description of what it does. Below each item is red or green glass. That represents if the current protection is active or not. Red means the action will be blocked and players are not allowed to perform it. Green means the action is allowed and anyone can perform it on your claim. Clicking on the glass allows you to toggle the active state for that protection. Changes are applied immediately.
Whitelist
Section titled “Whitelist”Clicking on the player head takes you to the Whitelist Menu. (See: Whitelist)
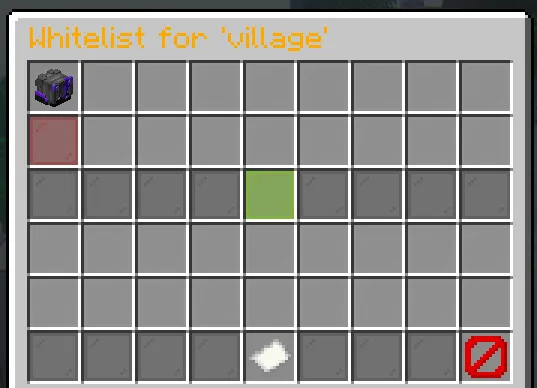
Here you can see all players that are currently whitelisted on the claim. Below each player head is a red glass pane. Clicking on it will allow you to remove that player from the whitelist. In the middle of the UI is a green glass pane. Clicking on it allows you to add a new player to the whitelist.
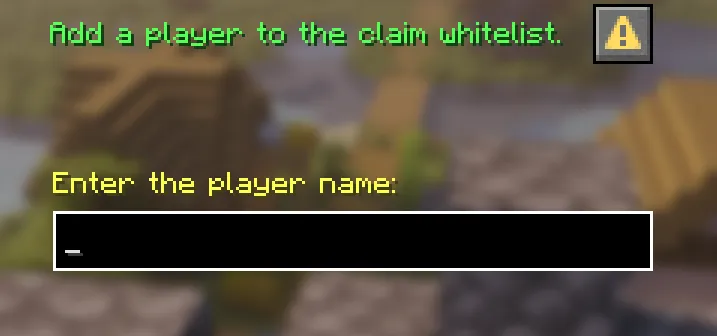
You will be asked to enter the player name into the input field.
Other Commands
Section titled “Other Commands”Owner Lookup
Section titled “Owner Lookup”Use /claim who to check who owns a certain chunk.